Make a bunch of these cute heart cushions and give them as gifts, decorate your bedroom, hang them on the wall or on your christmas tree.
Have fun creating!
What you’ll need
- Denim fabric
- Acrylic felt
- Embroidery needle
- Embroidery floss
- Scissors (you’ll need fabric scissors, as well as a pair of embroidery scissors with fine tips to cut the felt around the letters)
- Sewing machine
- Stuffing material (polyester toy filling)
- Tracing paper (or baking paper)
- Marker (to trace the template)
How to make the heart cushion
- Download the free template , decide how big you want your heart, resize as you like and print out.
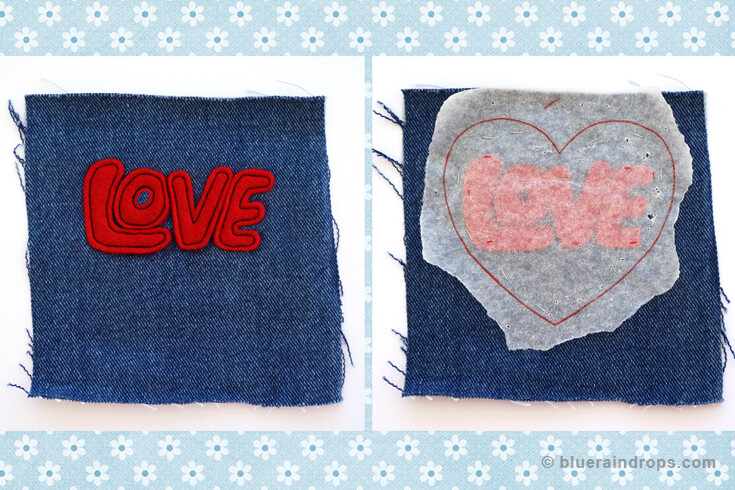
Cut a square piece, bigger than the heart, from the denim fabric. Cut a piece from the red felt, bigger than the “love” letters. - Position the red felt piece where you want your letters to be and machine baste felt and denim fabric.
- Secure a piece of tracing or baking paper on your printout and trace the letters.
- Tape your tracing on the red felt.
- Set the sewing machine to straight stitch and adjust the length to rather short. Sew the letters. I recommend that you start sewing from the center out, so you can avoid any letter distortion.
- Carefully remove the paper.
- Undo basting. Use your fine tip embroidery scissors and cut around each letter creating a border.
- Secure a piece of tracing or baking paper on your printout and trace the heart.
Pin baste or staple the tracing paper and the fabric.
- Cut the heart with the letters and one more from the denim fabric.
- Pin baste the hearts, wrong sides together. Sew around the edge using blanket stitch, but not all the way. Leave an opening for stuffing.
- Stuff to desired plumpness and stitch up the opening.
- Your heart cushion is ready.
- You can use matching or contrasting thread colors.
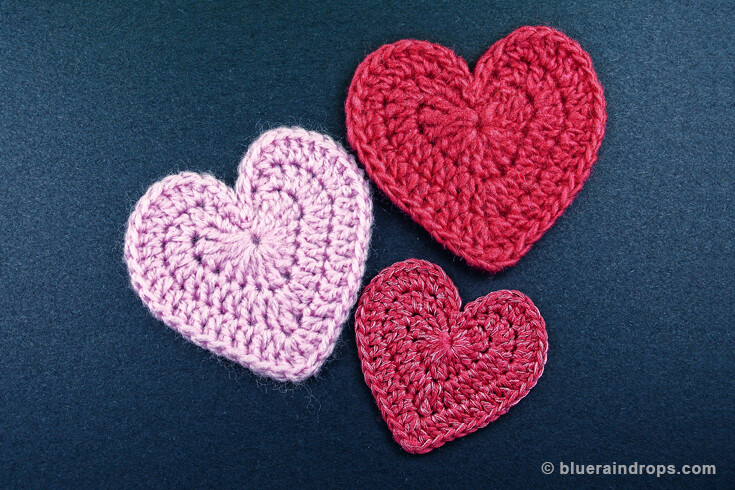
The hearts in the small photos are also made with the same technique.
Tips and decoration ideas
- If you like this technique, take a look at Felt Swirls on Denim Heart Cushion.
- The blanket stitch is the decorative stitch often used to sew felt pieces together. It secures and gives a very nice look.


[…] as you like and print out. Step by step photos, as well as instructions, you’ll find in this tutorial. Although, the heart shown in the tutorial photos is not the swirly one, the technique is the […]